
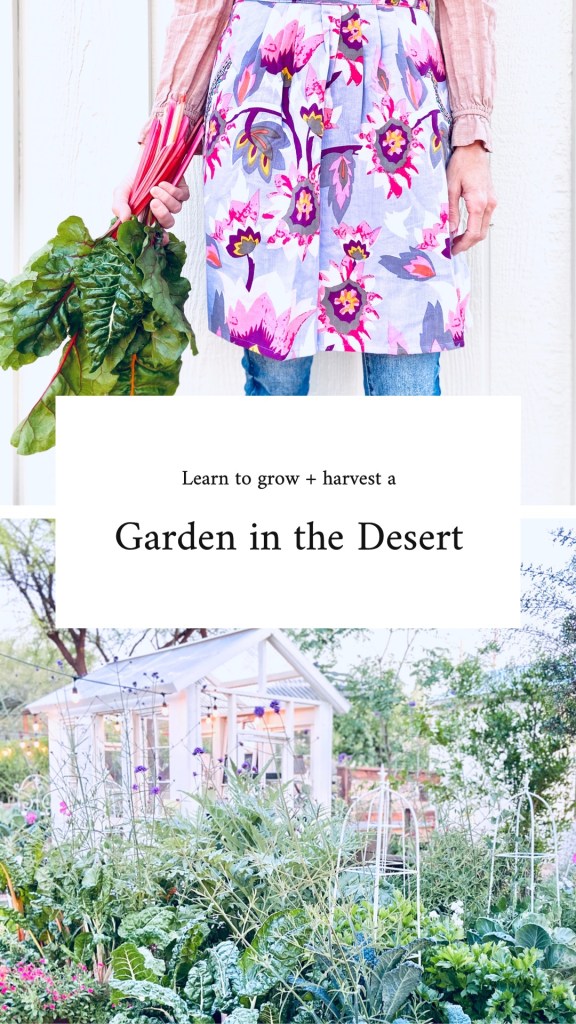
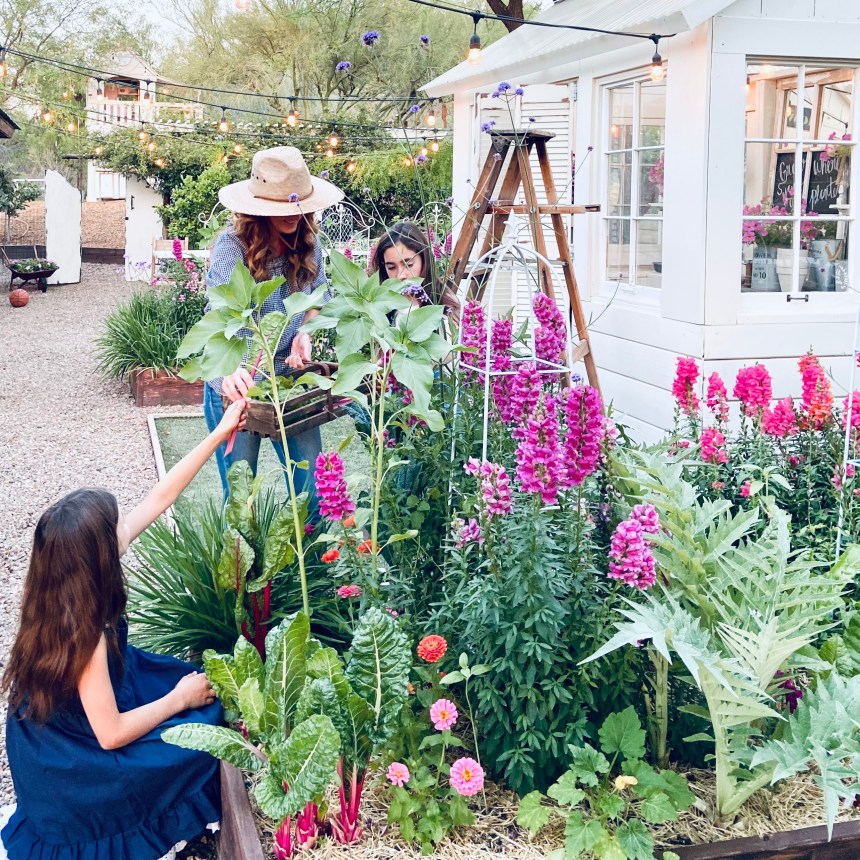
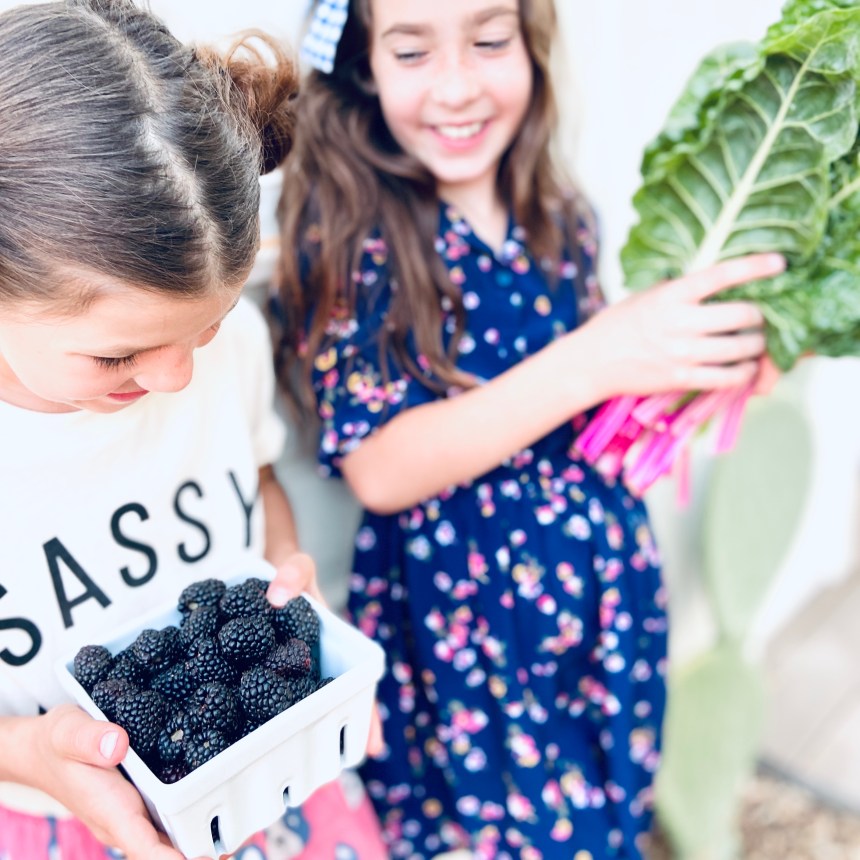
I’m so excited to share our thriving garden we are growing here in the desert of Tucson, Arizona! We are now in our 5th year of growing in this location and I have so many tips and tricks to share with you!
Here in Zone 9 we have two main seasons a Cool Season and a Warm Season. The Cool Season is by far the ideal season to get started in! So I will start there … but the first step is to prep the garden beds! This step is crucial to success each season.
Preping the garden beds
PREP THE BEDS BEFORE EACH PLANTING SEASON! The most important step is to make sure your garden beds have fresh compost mixed in. I mix into just the top 2 inches. I have an amazing amount of earth worms in my garden and I don’t want to disturb them too much. If I feel my garden has gotten too compacted I use a pitch fork very carefully to loosen but not fully dig deep or turn over.
If you have a brand new garden then you already have fresh compost! There are a few ways to start a new garden and one is using 50% native soil and 50% compost (compost coming from 3 different sources). Another way is 33% compost, 33% peat moss and 33% vermiculite. Iv’e had success both ways! I also suggest sprinkling worm casting on the garden, which always has eggs, and will get those earth worms started.
Another important step is to mulch the garden often. This will help retain moisture and it feeds the worms that feed your plants! I will go into depth about my favorite mulching material toward the end of this post.
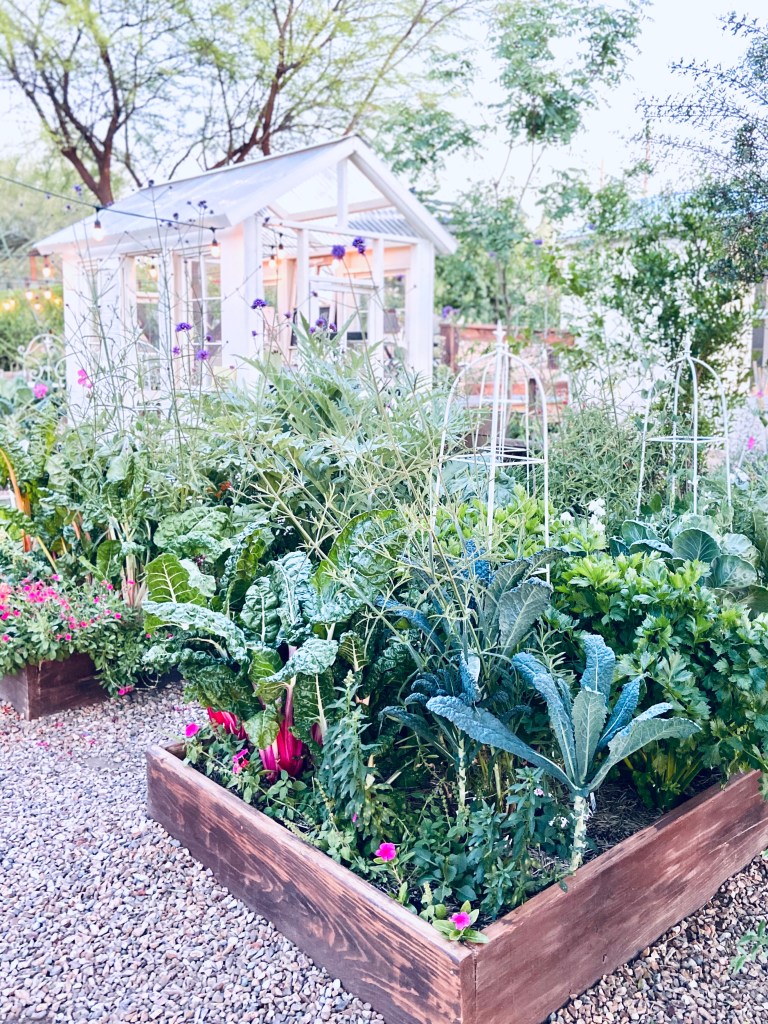
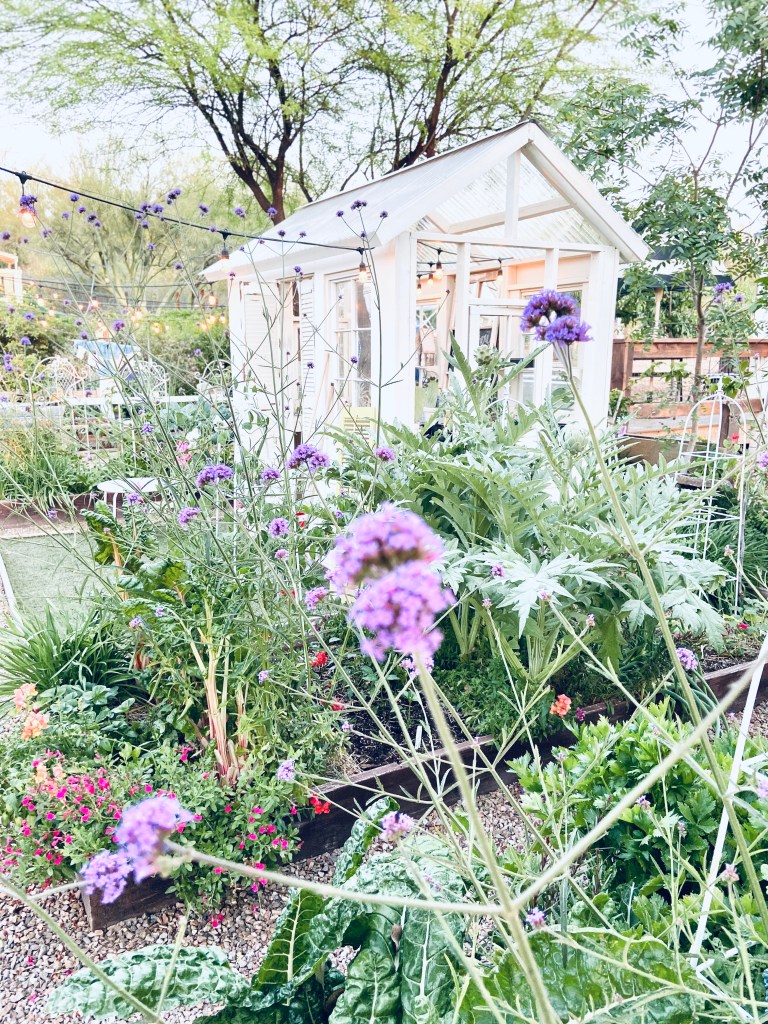
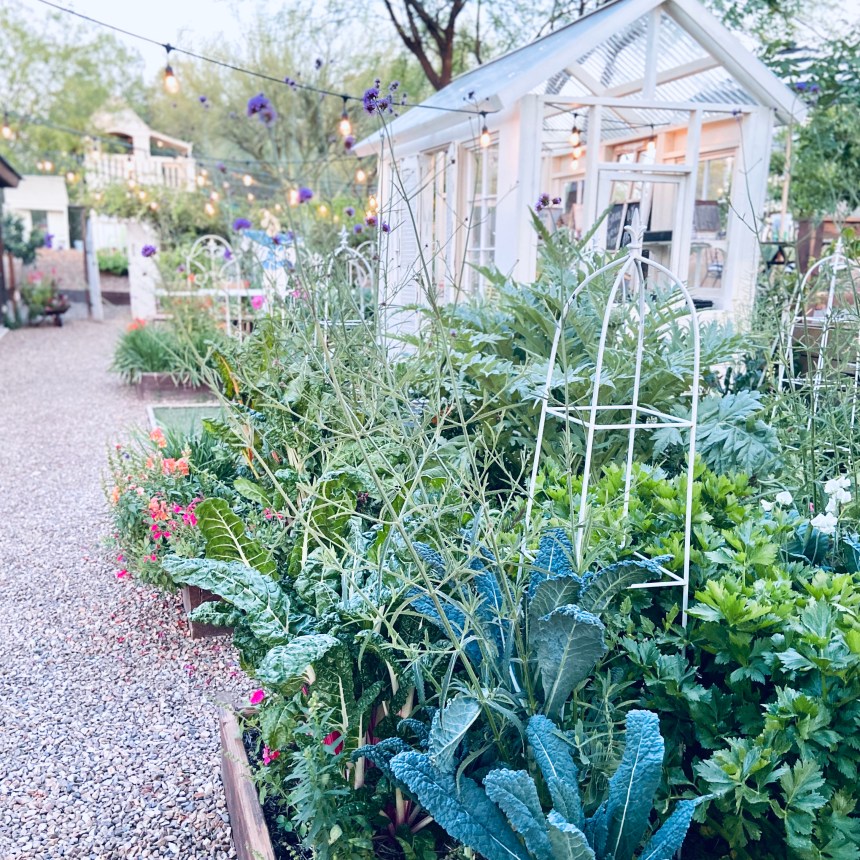
As you can tell from the photos we use raised beds to grow in. We love them but there are so many ways to garden. I will share the benefits and downfalls to this at the end along with my mulch.

Cool Season Desert Gardening
This season is best started the End of September/ Beginning of October. Once the temps drop down to below the mid 90’s you are safe to get seeds and transplants into the ground. This season goes until it starts to heat up toward the End of April.
Below is a list of all the veggies that can be planted in the cool season and along with them my favorite variety. These favorite varieties stood up to hard freezes that we occasionally get in the winter and even snow without being covered!! They also stood up to the bugs and heat that come when the spring temps start to heat up making the crop last longer.
If the veggie has (plant) by its name then you need to start with a seedling transplant from the nursery or have started these plants from seed indoors a month or two in advance. The reason is these veggies take so long to produce that you would run out of time and into the heat of the next season and not have success.
If you did not get your garden planted the beginning of October, its not too late!! You can keep planting anything on the list up until February except for the veggies that have (plant) by its name. Those really need to be in as soon as possible.
*** This blog post will be forever updated with the latest of my knowledge and experience in growing in the desert. If I find a better variety I will update this!
The Cool Season Planting Guide
- Artichoke (plant) {Green Globe}
- Arugula
- Asparagus (plant)
- {Asparagus is a perennial crop that gets harvested in the 2nd year and each year after. It didn’t survive the heat of summer. It needs a micro climate and a dedicated garden bed to be successful}
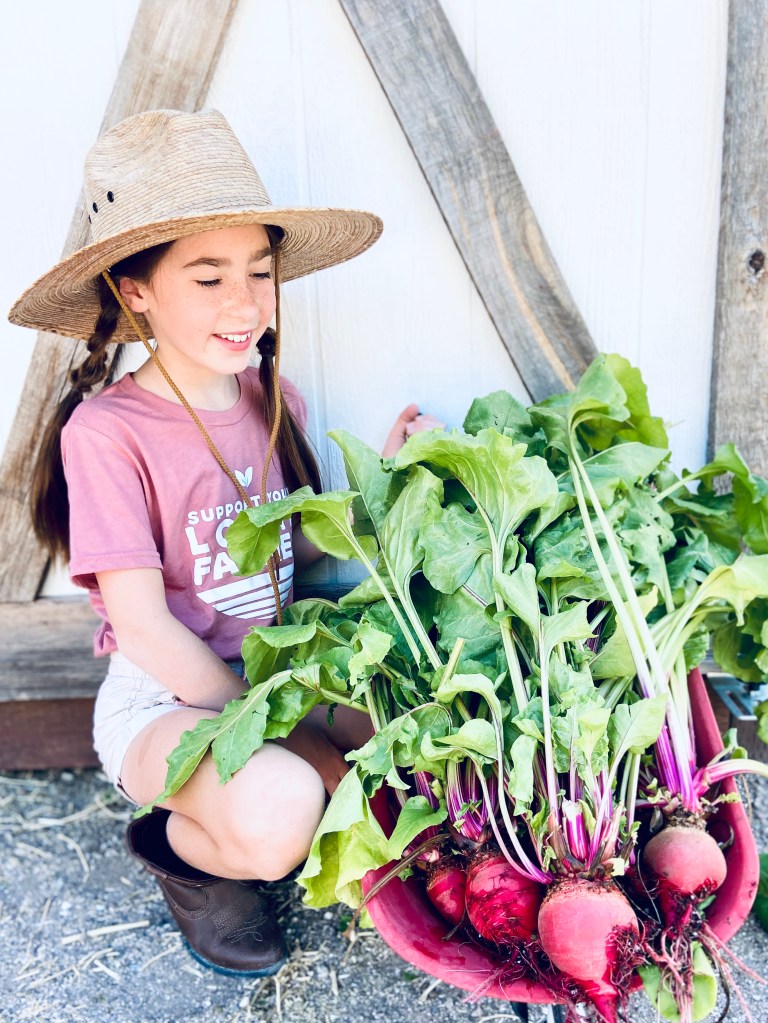
- Beet {Early Wonder, Chioggia}
- Bok Choy
- Broccoli (plant)
- Brussel Sprouts (plant)
- Cabbage (plant) {Savoy and Purple}
- Carrot {Scarlet Nantes and Dragon}
- Cauliflower (plant) {Candid Charm}
- Celery {Tango and Conquistador}
- Chard {Rainbow, Fordhook, Peppermint, Ruby Red}
- Chicory
- Chives {these grow year round}
- Cilantro {Slow Bolt}
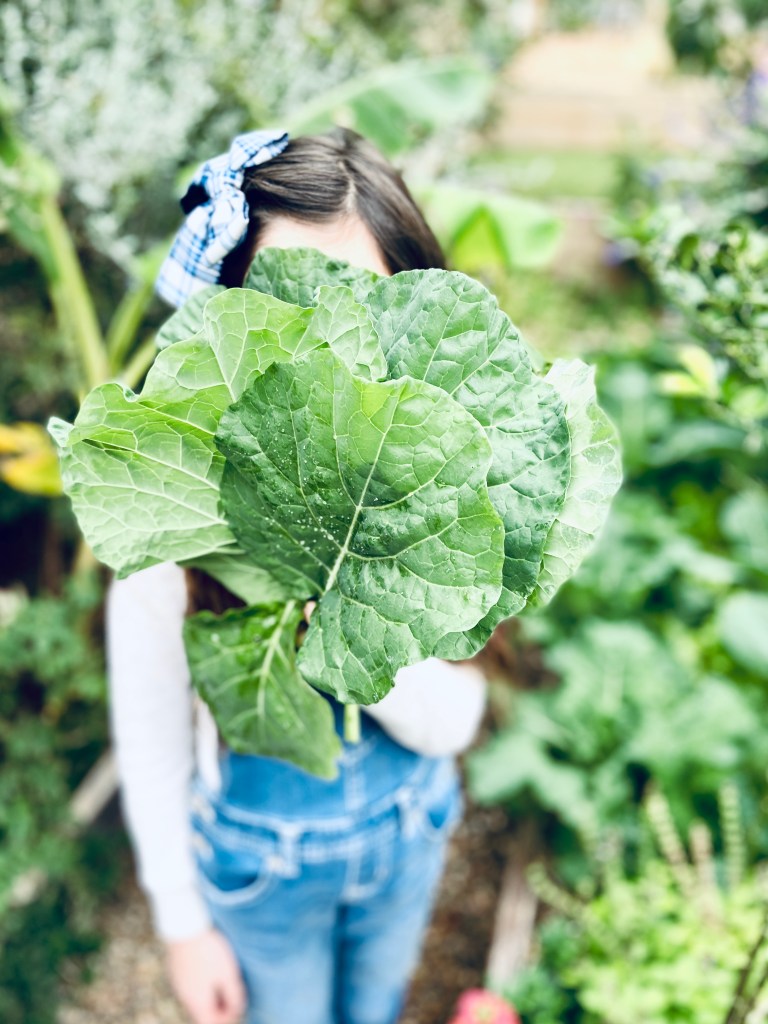
- Collards
- Dill
- Fava and Lima Beans
- Garlic
- Kale {Lacinato/Dinosaur, Curly, Red Russian, Dwarf Siberian}
- Kohlrabi
- Leeks
- Lentils
- Lettuce {Looseleaf, Romaine, Mixes, Butterhead}
- Mustard Greens
- Onions & Scallions {Red Creole, Bunching, I’itoi’s, Walla Walla}
- Oregano {True Greek}
- Parsley {Italian}
- Parsnip
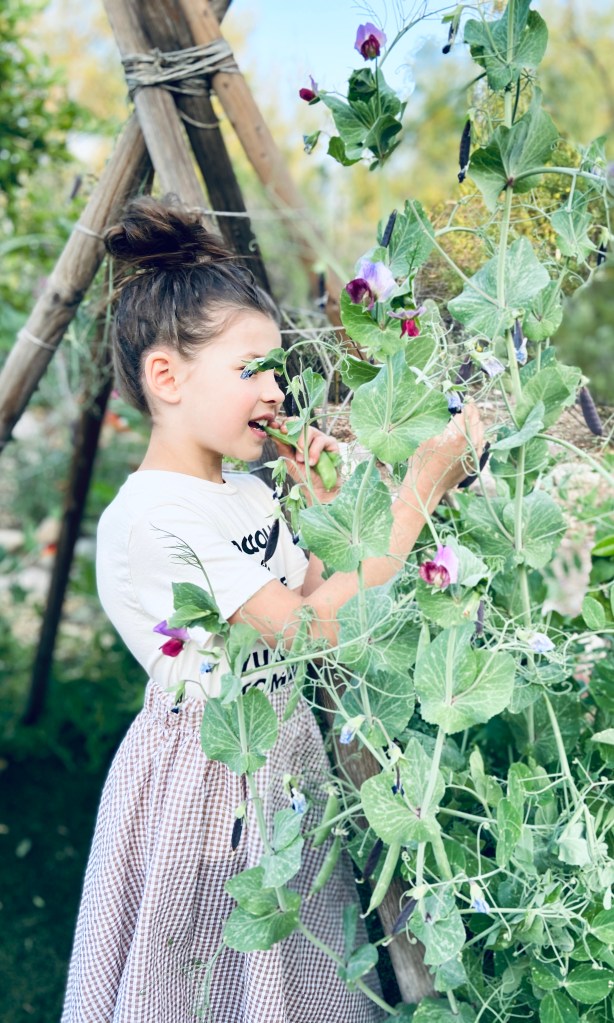
- Peas {Snow, Sugar Magnolia}
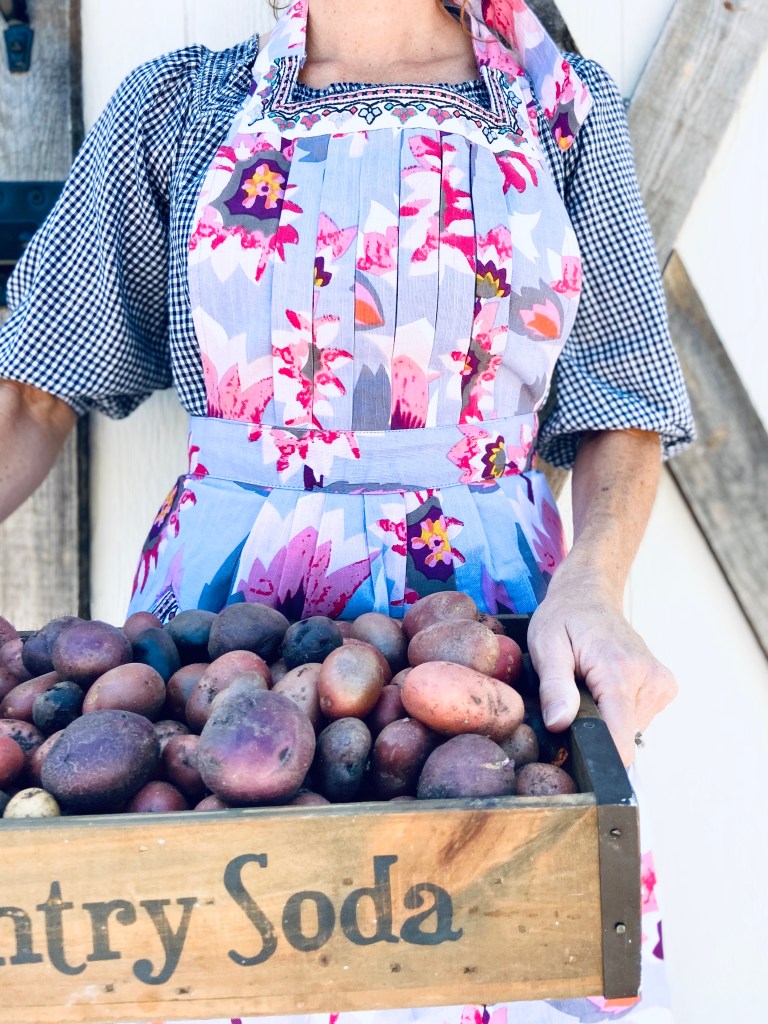
- Potatoes (start in January)
- {red, gold and purple are best}{start from an organic potato that has sprouted eyes, cut up big chunks making sure each chunk has at least 1 eye or more}
- Radish {French Basket, Cherry Belle, Sparkler White Tip}
- Rutabaga
- Spinach {Corvair F1, Bloomsdale, Smooth Leaf Space}
- Strawberries (plant)
- {Junebearing -Sequoia, Chandler and Everbearing -Eversweet}, even though these are perennials I grow these as annuals as our summer heat was too brutal)
- Tarragon {French and Mexican}
- Thyme {German}
- Turnip {Purple Top White Globe}
- Wildflowers {Desert Natives}
Plant Buddies
Now that you know what to grow through the winter season, there is finding out what grows well next to each other and what doesn’t in the same garden bed.
This can get a bit complicated, so what I have done is call out a couple of my absolute favorite veggies I want to grow for each garden bed. Then I will google search what grows well with them and draw out a plan. Just make sure they are all on the Cool Season list! A great tip is to inter-plant herbs and flowers between veggies to help protect against bug breakouts. Thankfully there aren’t a whole lot of bugs in the winter!
As you go through the winter months the cool season garden is slow growing but as it warms up in March everything takes off and gets wild! Make sure to keep up with the harvest! I only have to water a couple times a week in the winter months …. the summer months are a different story!
Warm Season Desert Gardening
By Mid-March it is the official last frost date and time to plant the warm season crops! It is also the most beautiful time of year and the perfect time to get outside in the garden!
If you were lucky you have an abundant and full winter garden still growing …. BUT this also means its time to make some choices. It is crucial for most of the summer crops to be planted ASAP. You will enjoy tomatoes and peppers all before the temps heat up and before everything you planted stops producing and is basically just trying to survive our heat.
This is where micro climates come in. If you have positioned your garden South Facing with Late Afternoon Shade and maybe even shade cloth over each bed then you can have a garden still produce when it really heats up in June.
Starting Mid March I will heavily prune winter crops or pull all together. This way my summer crop has enough light to get going. I will continually do this until Mid May until all the winter crops are gone and all the summer crops are planted.
I learned all this the hard way! My winter garden was still so amazing that I didn’t plant any of my summer garden until May. It was not a good harvest.
The list below follows the same rules as the Cool Season list. Anything planted from seed can be planted as late as Mid May. Any veggie with (plant) next to its name will do so much better if planted by the End of March. The reason is the plant will grow deep roots by the time it heats up which will help it stay hydrated. Heavily mulching in this season will help soooooo much too!! I should say the sooner you plant anything on this list the better it will do going into our brutal summer.
The Warm Season Planting Guide
- Amaranth
- Basil {Mrs. Burns’ Famous Lemon Basil, Thai, Sweet Italian, African Blue Basil, Holy Basil}
- Bell Pepper (plant) {Choose the smaller varieties}
- Black Eyed Peas
- Bush & Pole Beans {Hopi Pink, Black Common}
- Cantaloupe {Crenshaw, Hales Best Jumbo}
- Chilies/Peppers (plant)
- {Because Chilies are generally on the smaller side I have had good luck with a wide variety}
- Corn {Sweet Yuman Yellow, Glass Gem Popcorn}
- Cucumber {Lemon and any small varieties}
- Eggplant (plant) {choose the smaller varieties like Nubia and Nadia}
- Gourds
- Okra
- Radish
- {radishes mature so quickly that you can get another planting of these before it heats up}
- Pumpkin {Fairytale, Big Max}
- Squash {Golden Crookneck, Patty Pan, Butternut}
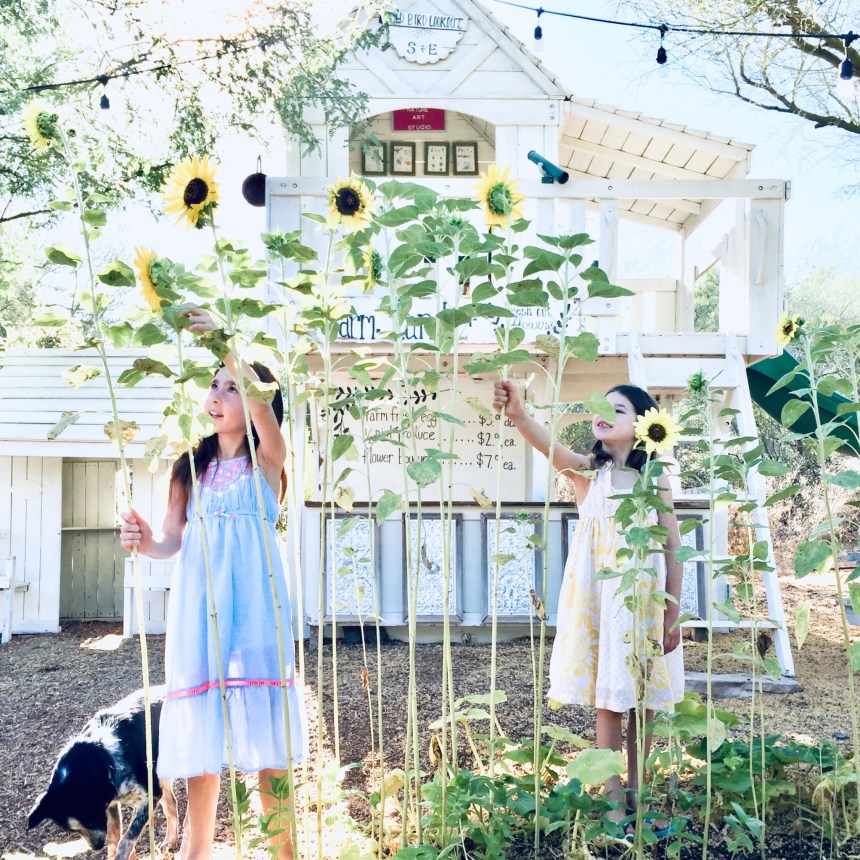
- Sunflower {I have had good luck with all varieties I have tried!}
- Tomtatos (plant)
- {faves are Sungolds and Sweet 100s but any small tomato varieties do well. Larger ones take so long that the heat will start to crack them and bird start to peck them before they are fully ripe}
- Tomatillos (plant) {green}
- Watermelons {Crimson Sweet}
- Zinnias
- {Cut and Come Again, give these enough light to grow and you will have flowers all Summer and Fall and they are a huge butterfly attraction!}
- Zucchini {Black Beauty}
Below is a planting calendar that you can feel free to print out! It is the perfect quick guide on what thrives in each season!

Getting Through the Summer Heat
So now the summer garden is in and by the end of May anything that was planted in Mid March should be growing quite well and hopefully setting fruit. As we go into June this will be the hottest month but its also the month that if we water deeply and as often as we need then we should be getting quite the harvest.
As we get to the end of June the garden will start to get a little crunchy. I simply trim off any brown dead leaves and keep it hydrated until the monsoons arrive. The monsoons are our savior and everything seems to green up again. Anything old that you trim off your plants can be used for additional mulch – Its called chop and drop and its these organic materials that add to your soil’s fertility!
BUT, lets say June was so brutal and your garden is suffering. Hopefully you already harvested some cherry tomatoes and hot peppers before this happened. It is actually suggested that we don’t grow all the way through this rough season and save all that water and headache. You can put your garden to bed with heavy mulch and it will be waiting for you in the Cool Season. You may not get corn or pumpkins because those do need the whole summer but you can definitely grow small tomatoes, chilies, little squashes, basil and sunflowers … I harvested all this in the beginning of June!
Monsoons & Bugs of Summer
As July comes the monsoons come and we are doing a happy rain dance! The garden is loving it and starts to take off and get kind of wild. I just keep pruning anything brown.
The only problem is now the bugs come. By the end of July I could cry! All that hard work to be eaten up by Tomato Horn Worms and Grasshoppers from above and then Grubs munching on roots from down below. Not to mention its still HOT!
A lot of plants don’t make it through this, only your healthiest will survive. Those ones that do survive will take off again the end of September and be amazing producers again for a late summer crop!
There is a Monsoon Season Crop that you can try too. I have tried but the bug problem overcame my seedling starts and seeds. If you would like to try planting in the Monsoon season just follow the Warm Season Planting Guide all over again. Time your planting with the start of the monsoons.
I do not have shade cloth on my garden. If you added it and controlled the pests I think this Monsoon Crop would be successful!
So what to do about the bugs??? I grow organically and like to give these bugs to my chickens! So this means I don’t use any sprays. The whole family will go on a Tomato Horn Worm and Grasshopper hunt and we give our prized finds to the chickens as the ultimate treats!
As for the Grubs, they are a bit harder. Yes, you can simply go dig them out and that is just what I did but I am disturbing the roots of my stressed out plants. This Spring we applied beneficial nematodes to the whole garden to hopefully fix this problem that comes with the monsoons. I will let you know if it worked!! *** UPDATE – It did seem to help a little, so I will do this again every Spring and see if it continues to slowly help!
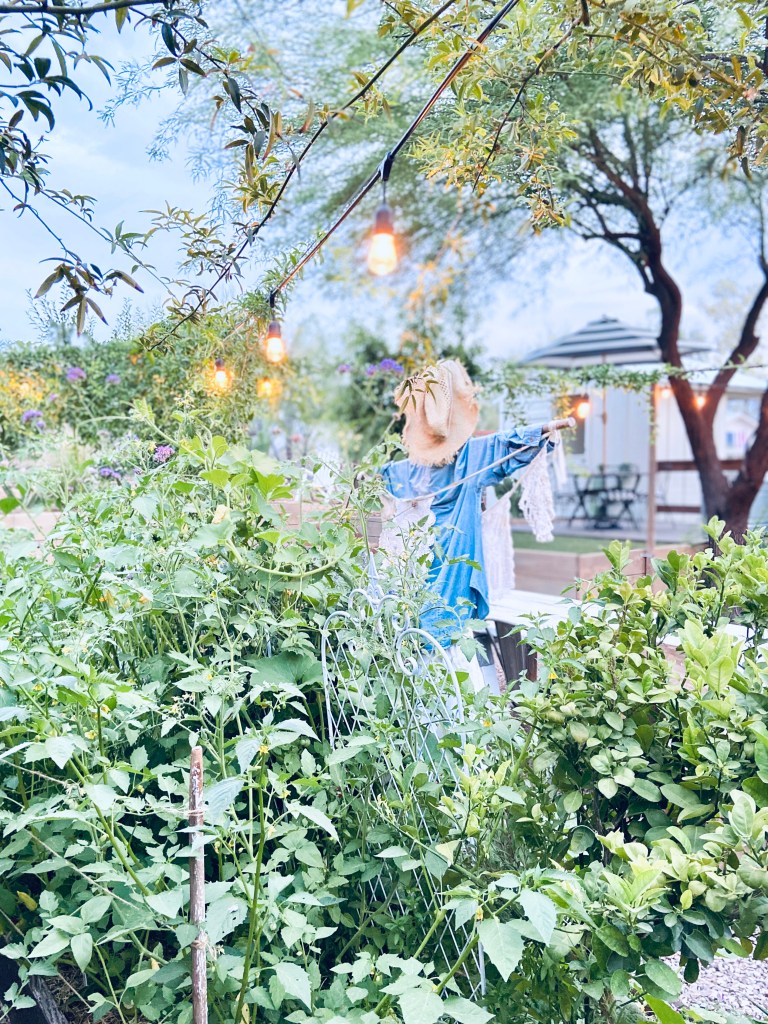
August and September are hard months as the monsoons die down but the heat and bugs continue. For me I have to continue through these hard months as I have much more than just a veggie garden. I have a Perennial and Annual flower garden for the butterflies, bees and hummingbirds. I have fruit trees and bushes and berries.
All of this is mixed together and it is all in my front yard as you walk to the front door! So it kind of needs to look good 24/7ish. If you are deciding where to plant your garden please take this into consideration.
Type of Garden Beds
As I just mentioned the location of your garden is so important. Front yard gardens are so fun but will take constant maintenance. A couple boxes in the back side yard may be more your style. The ultimate place for your garden is south facing with afternoon shade in the summer.
The recommended beds for our desert are actually sunken earthen beds. This is where you dig the native soil out and make higher paths with it and then fill in with compost/native soil making sure the bed is lower than your paths. This way when it rains all that water collects in your beds!
We took a class at a farm that had this and they were super successful but my kids and others kept stepping into the garden. So we decided the raised beds would be better for all the shenanigans.
Ours are wood, with stain only on the exterior. They are holding up amazingly for being 4 years old. At some point though they will need to be replaced. Don’t make the beds any wider than 4′, so you can easily reach in from both sides. You can then go as long as you want. Ours are 4′ x 12′. Ideal depth is 18″- 24″ deep. The downfall to raised beds in the heat is the sides heat up and dry the edges quicker. Also, they don’t capture extra rain water like the sunken ones.
I have a Perennial Border Garden around my 4 big garden boxes that has a mix of fruit trees and bushes along with berries and grapes and flowers too. This gives all the beneficial bugs a place to go when the veggie gardens are getting pulled out and replanted. All this planted together is making for a nice cooler micro climate around our garden.
Protecting your garden from the critters is important too! We have a hardwire mesh/wood trimmed fence around the garden and a dog and cat. All of this helps so much against ground squirrels and bunnies. The birds will definitely get some fruit but I see them catching grasshoppers too, so they get a pass!

The Importance of Mulching
Alfalfa is my secret ingredient!! Lay it on thick …. like 6″ thick! But don’t lay it thick touching stems, it can rot them. So lay it in between rows thick and thinner toward your row. Not only does it help retain moisture in the summer it feeds the worms and your plants. Alfalfa is a rich legume that adds nitrogen as it breaks down and the earth worms love it. This gets applied as needed, maybe every other month. You can get it at any feed/farm supply store by the bale.
What’s even better my goats eat alfalfa and like to drop it on the ground and not eat it. So their waste is my secret ingredient!
I believe my garden does so well season after season because of the compost I add before each season and the alfalfa I add through out the season which acts like a natural fertilizer.
I have used straw and bark and would not recommend it. The straw left grass seeds growing in my garden and the bark brought with it fungus.
My daughter just did her science experiment on the best mulch to put on the garden. She tested several and sure enough it was the old alfalfa with goat manure that grew the biggest seedlings! The fresh alfalfa was second.
I am out in my garden every day! This is the best way to spot a bug breakout and of course a ripe tomato! Our garden is the center of our whole farm with a giant farm table right in the middle. I am so passionate about it! I hope this helps you to get started. I would love to answer any questions you may have!
Happy Gardening!

Thanks for all the tips!! Such a huge hep to a garden newbie, like me!
LikeLike
Yay!! Thank you so much Michele!! 🙂
LikeLike
Your post are absolutely amazing! Keep up the amazing work!
LikeLike